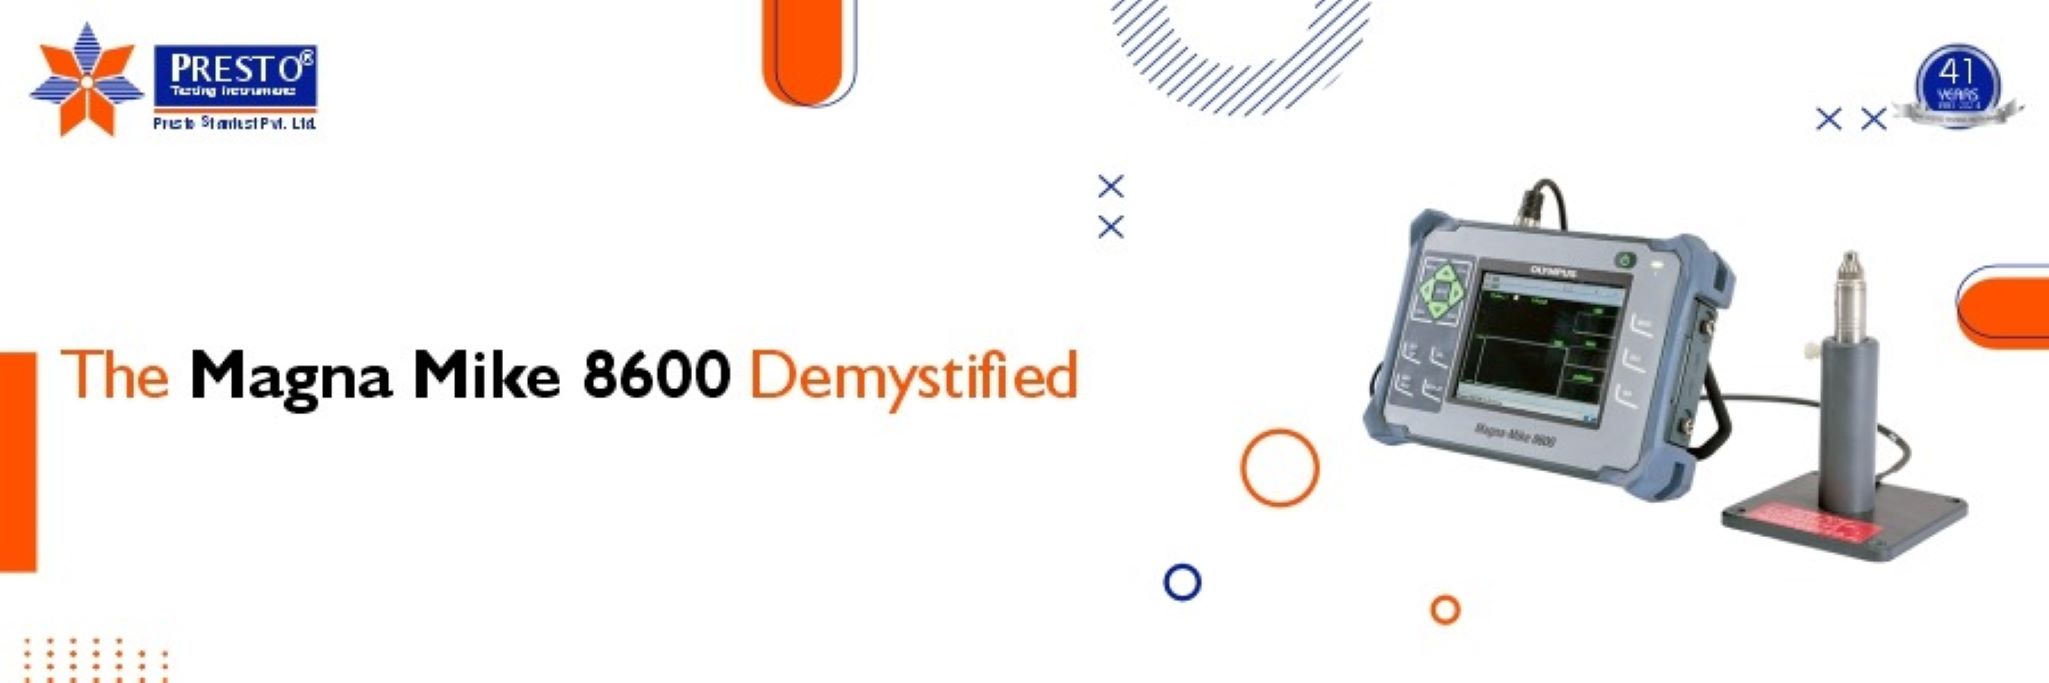
The Magna Mike 8600 Demystified

Gaurav Malhotra-Testing Instrument Expert
03-12-2024
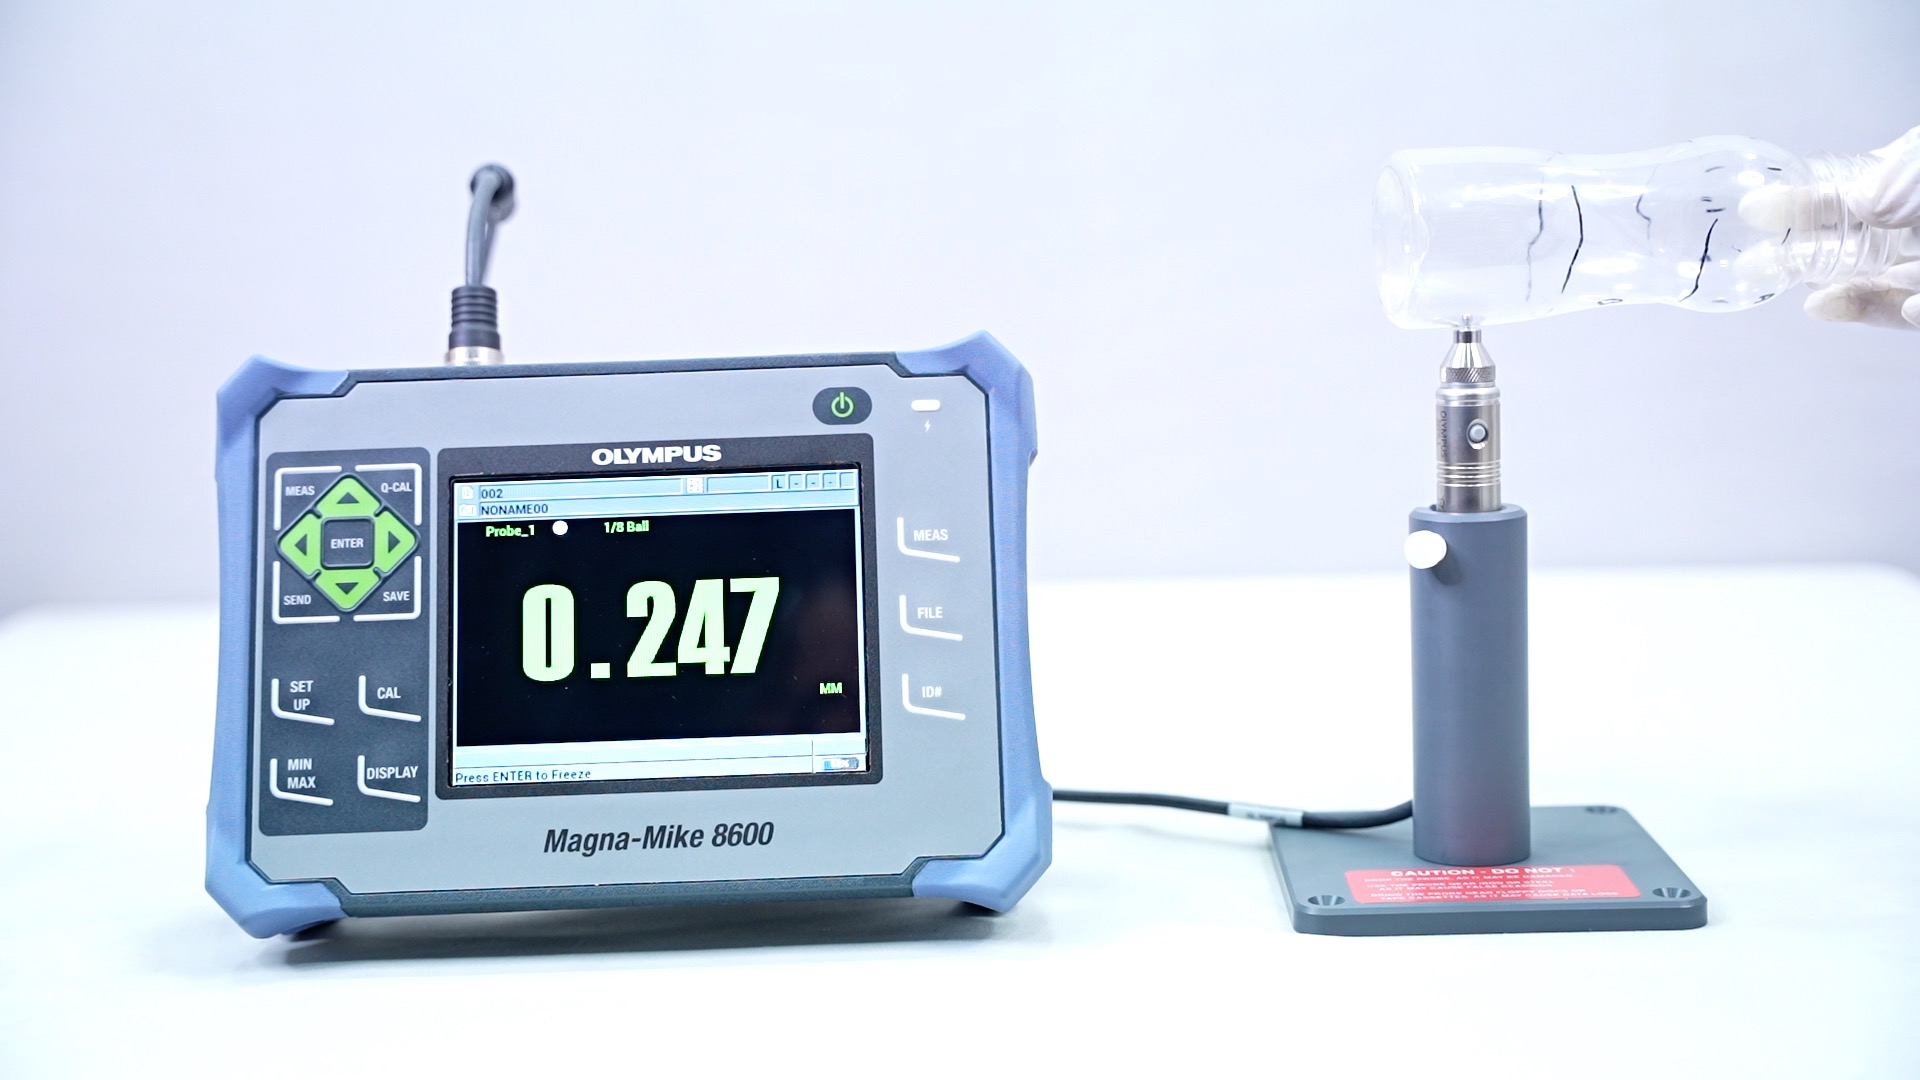
If you have used the Magna Mike 8600 for any time at all, it has likely been a constant companion to you in obtaining quick, non-invasive wall thickness readings. Even seasoned users may need some additional insight on how to stretch the instrument's capabilities to the limit.
This blog takes you beyond the basics to a detailed look at the advanced functionalities of the Magna mike wall thickness gauge, the physics behind the operation, and actionable tips on how to get the most out of the device, including in-depth technical recommendations and best practices. Readers who are familiar with the basics will find the value of aspects related to the Magna Mike 8600, which might not always be used or fully known, so it's worthwhile reading for those interested in improving their expertise and tailoring their testing procedures.

Why Presto?
Magna Mike by Presto offers non-destructive, accurate measurement of coating thickness through magnetic induction. It provides convenient handling and is highly mobile, making it a suitable solution for industries requiring true quality control, including automobile and aerospace industries.
Advanced Understanding of the Functionality of the Magna Mike 8600
The Magna Mike 8600 operates based on advanced principles, but what sets it apart from simpler systems is its advanced digital signal processing and multi-frequency operation. As an experienced user, you’re likely aware of how this technology works, but let’s dive deeper into how these features affect your measurements and why they matter.
Multi-Frequency Measurement: Magna Mike 8600 allows for adjusting the frequency of the signal based on material properties and measurement depths. The multi-frequency capability will improve performance across a range of materials, from thin, highly conductive coatings to thicker, less conductive substrates. Different frequencies allow the system to eliminate errors due to signal penetration and surface interference, and the readings become more accurate across different materials.
Advanced signal processing algorithms: The advanced signal processing technology in the Magna mike wall thickness gauge interprets even faint signal variations more clearly, especially on non-ferrous and composite materials. As an expert, you can appreciate the importance of signal-to-noise ratio (SNR) in thickness measurements. Magna Mike 8600's improved algorithms reduce errors caused by surface roughness and non-uniform coatings, ensuring that your results remain precise even in challenging environments.
Temperature Compensation: While you’re probably aware of the influence temperature can have on measurements, the Magna Mike 8600 includes auto temperature compensation that adjusts readings in real time to account for temperature fluctuations. This is particularly useful when you’re measuring materials exposed to external temperature shifts or operating in extreme conditions. Fine-tuning this feature for different materials can improve accuracy even further, as it accounts for thermal expansion coefficients of different substrates.

Advanced Calibration Techniques and Considerations
You are already aware of standard one-point calibration; however, the Magna Mike 8600 has other advanced types of calibration for further optimum measurement in various applications.
Two-Point Calibration: You will find a two-point calibration very useful if you often work with materials where the thickness of the coating and properties of the substrate are drastically different. This involves the measurement of both the thickness of the coating and base material at two known points. This allows it to account for differences in conductivity between the two layers, which will sometimes allow you to get even closer readings for thicker or multi-layer coatings.
Composite Materials Dual Calibration: The dual calibration on the Magna Mike 8600 helps overcome specific issues for materials with carbon fiber or metal-coated polymer substrates. Its dual calibration capabilities mean one calibration against the coating and the other against the substrate allowing for better adjustment and compensation of differing magnetic permeabilities and conductivity for enhanced measurement accuracy with multi-layer configurations.
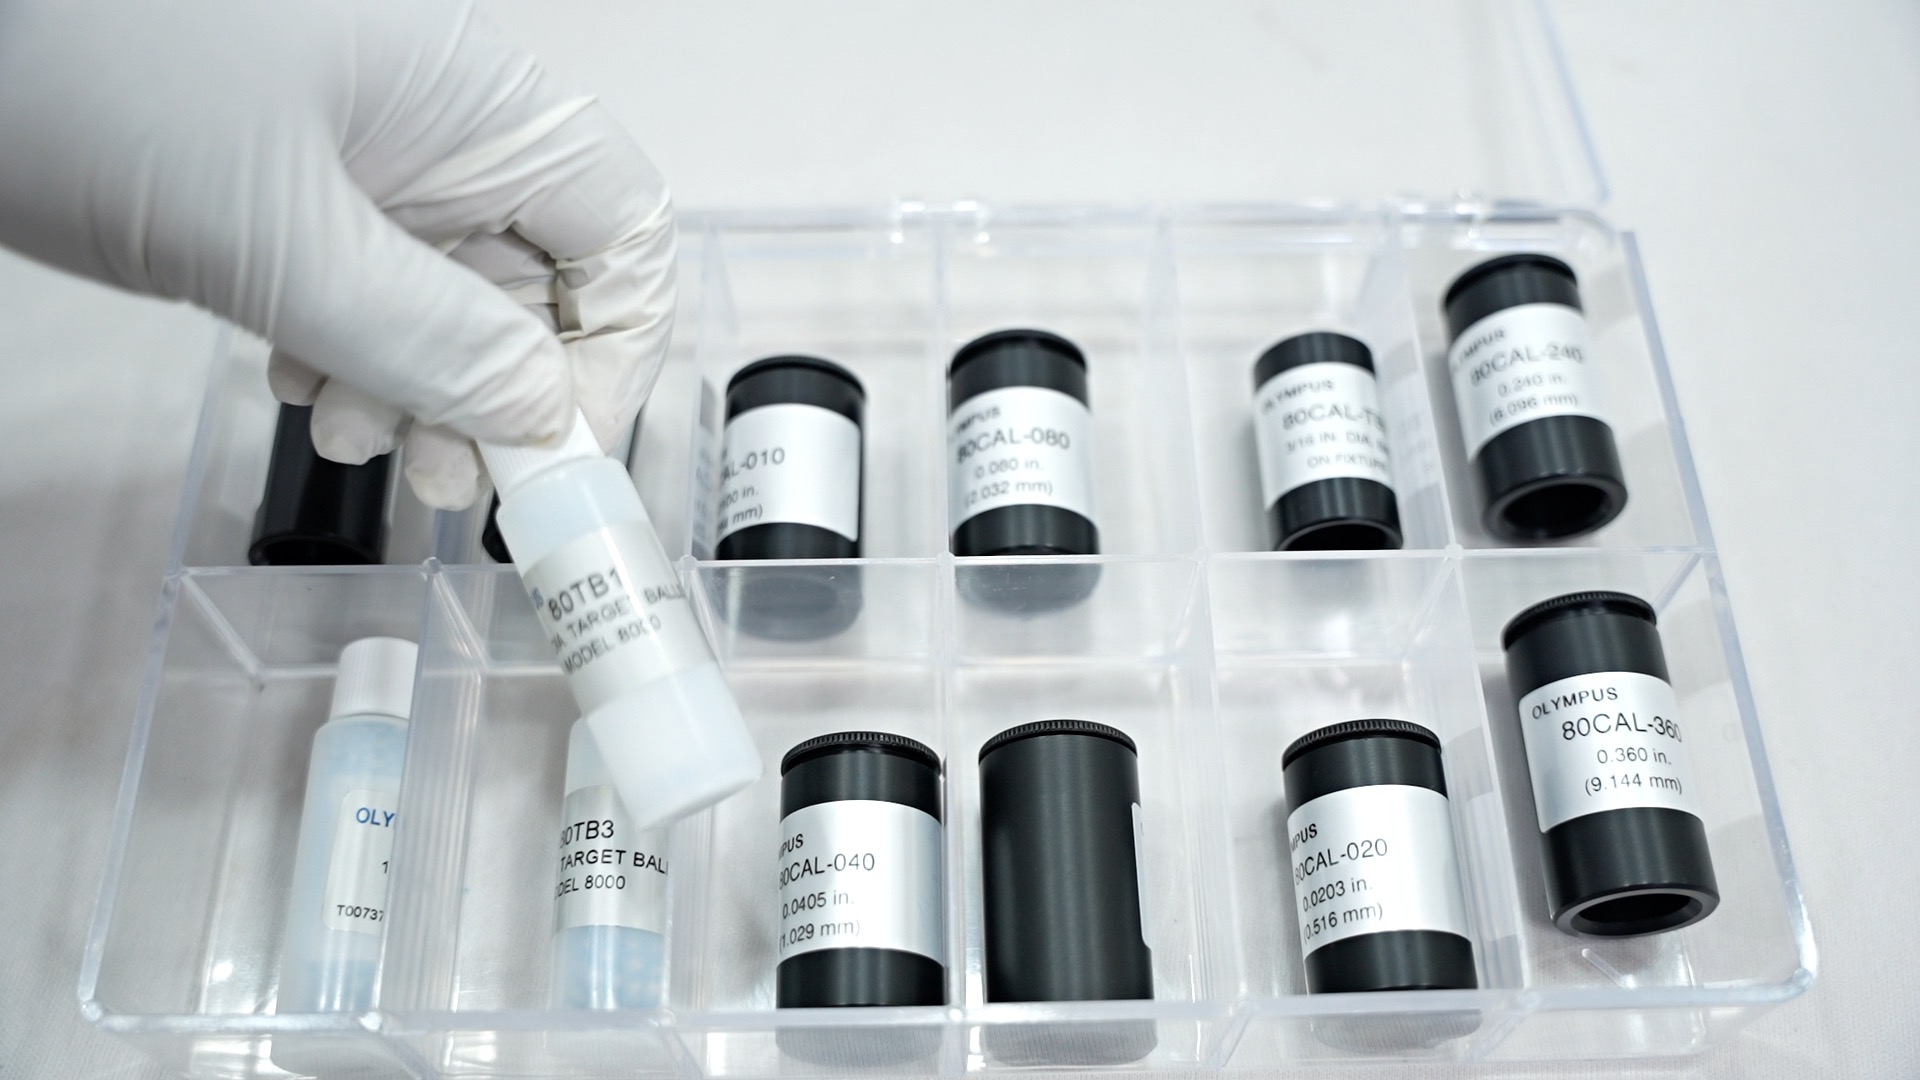
Reference Calibration: In case the measured materials have compositions highly inconsistent or not standard, reference calibration by making use of a known material can be much more relied on than traditional factory. This is useful for some of the work that is done using exotic alloys or specific custom coatings in which not many material profiles have been preserved.
Optimization in Measuring Accuracy Using Probe Ends
The right probe is critical to get an accurate reading, and the Magna mike wall thickness gauge can be used with several probes designed for certain applications. Let's get closer to choosing and using the right probe for you:
Standard Probes vs. Specialty Probes: The standard probes with the Magna Mike 8600 are appropriate for general measurements on flat surfaces. For irregular or hard-to-reach areas, specialty probes like the micro-probe or long-range probe are needed. These offer greater flexibility to reach tight spaces or measure very thin coatings for accurate readings in difficult geometries.
High-Frequency Probes for Thin Coatings For measurements of thin coatings less than 0.5 mm, high-frequency probes are suggested. The probes have a higher frequency signal and are thus capable of measuring coatings without deep penetration into the base material. This can help you achieve accurate measurements in applications involving ultra-thin coatings, such as paint layers on precision parts or corrosion-resistant coatings on aircraft.
Surface Preparation and Probe Contact Surface preparation is essential to ensure a probe that gives you good-quality readings. The surface to which the probe is presented must be clean and have no oil, dirt, or rust on it. You are an experienced person and know that even at small surface irregularities, the probes are unable to make proper readings. Use a light abrasive pad to remove roughness when needed and ensure solid probe contact. This is especially true when you are working with composite materials or textured metal surfaces.
Utilizing Data Storage and Reporting Capabilities
The Magna Mike 8600 has a host of advanced features to aid in the management, storage, and analysis of measurement data. Let's explore how you can use these tools to enhance your workflow:
Data Logging and Analysis: The Magna Mike 8600 can store up to 1000 measurements in its internal memory. As an experienced user, you can use this feature to store data from routine inspections and then transfer it to your computer for analysis via USB. This improves traceability and simplifies report generation for clients or regulatory compliance. You can easily import the results into your quality control systems by exporting the data in formats like CSV.
Custom Measurement Profiles: For specific material profiles or measurement conditions, you can create and save custom profiles in the Magna Mike 8600. This makes it easy to retrieve calibration settings and probe configurations for various applications, thus reducing the time spent on setup during re-testing. Profiles can be set up for individual materials so that you can optimize the measurement procedure for different coatings and substrates.
Wireless Connectivity: For power users, the Magna Mike 8600 also features the option of wireless data transfer, which can really simplify communication and data sharing between the device and your other analytical tools. With the wireless features, you can sync the gauge directly to a central database or cloud storage, which can really make it easier to access and review results from anywhere.
Common Pitfalls to Avoid
Even for experienced professionals, certain pitfalls can undermine the accuracy and longevity of the Magna Mike 8600. Some additional, advanced do's and don'ts that one may want to bear in mind include the following:
Do's
Calibrate regularly if you are dealing with materials that have marked variation in time, such as steel plates that are surface-treated or if materials are exposed to adverse conditions.
Monitor probe wear: Over time, even the most durable probes can lose precision due to wear and tear. Check the probe tips regularly for damage or contamination and replace them if necessary.
Consider environmental factors: While the Magna mike wall thickness gauge compensates for temperature, extreme humidity, or electromagnetic interference can still affect performance. Ensure you’re operating the device in conditions that align with its specified environmental tolerances.
Don’ts:
Don't ignore surface roughness: You are an experienced technician who knows that the presence of a rough surface may lead to errors in measurements. When the surface finish is critical, use a surface finish gauge to check and prepare the surface before the test.
Do not skip calibration: While the Magna Mike 8600 is accurate, skipping calibration between uses and across environments can introduce inconsistency. Perform at least one-point calibration for every session.
Now, being already familiar with the Magna Mike technology, you understand better the high-level features and capabilities of the Magna Mike 8600. By leveraging multi-frequency measurements, advanced calibration techniques, probe selection, and data management features, you can get even more accurate results while optimizing your workflow. Using best practices and avoiding common pitfalls will ensure that the longevity and accuracy of your tool are maximized. This knowledge not only ensures your ability to use the Magna Mike 8600 skillfully but also positions you, being a true expert, in the field of non-destructive testing, for ultimately supporting your role on the way to ensuring every measurement you take is not just quality but precise also.
Phone: +91 9210 903 903
Mail: info@prestogroup.com
you may also like
- The Ultimate Guide to Lab Testing Equipment: Ensuring Quality with Precision Instruments
- GSM Calculator Guide: How to Measure Fabric, Paper & Plastic Weight
- What Is a Gloss Meter? Working Principle, Uses & Benefits Explained
- Applications of Tensile Testers in Plastic, Metal & Rubber Industries
- How UV Chambers Help Manufacturers Beat Sunlight and Weather Challenges
Recent News
- Paper & Packaging Testing Instruments
- Paint, Plating & Coating Testing Instruments
- Plastic & Polymer Testing Instruments
- Environmental Testing Chambers
- PET & Preform Testing Instruments
- Color Measuring Testing Instruments
- View Entire Range Instruments

Catalogue 2023
Get information about new product launches, research, innovation and endeavors at Presto.
download Free Copy
Get a Quote

