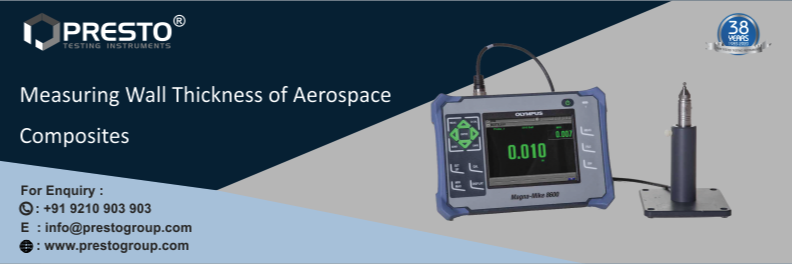
Measuring Wall Thickness of Aerospace Composites

In the aerospace manufacturing vertical, there are a wide variety of parts and components including wing panels, and radomes, which are composed of fibreglass material and hi-tech composites. Such material requires high precision based wall thickness measurement using advanced equipment such as Magnamike 8600. The mentioned components are usually strong in nature but are light weighted. The Hi-tech composites are often manufactured by mixing graphite or carbon fibres along with epoxy, polyamide, or polyimide resins.
The measured values are rapidly seen on the colour display screen of the device as digital thickness values. There are three probe designs available with the device including Straight, right angle, and for low profile articulating. The wear caps are replaceable and are present in Standard, Chisel tip, and Extended Wear type. The Target selection is widely extended from -3/16 and 1/4 in. in magnetic target balls. The thickness range is Expanded up to 25.4 mm. The display screen is large and includes colour VGA display quality. Test results can be extracted through portals such as RS-232, USB and VGA outputs.
To know more information about its features, price, and technical specifications, give us a call at +91 9210903903 or email us at info@prestogroup.com.
you may also like
Recent News
- Paper & Packaging Testing Instruments
- Paint, Plating & Coating Testing Instruments
- Plastic & Polymer Testing Instruments
- Environmental Testing Chambers
- PET & Preform Testing Instruments
- Color Measuring Testing Instruments
- View Entire Range Instruments

Catalogue 2023
Get information about new product launches, research, innovation and endeavors at Presto.
download Free Copy
Get a Quote

